How do I cut and trim audio using editing software
Audio editing might seem like a skill reserved for recording studios and professional producers, but did you know that the average smartphone user generates more audio content annually than the entire radio industry produced in 1950? With over 3.5 billion people using digital voice assistants and podcast listenership growing by 17% year-over-year, understanding how to cut and trim audio has become an essential digital literacy skill.
Whether you're trimming a podcast intro, cutting out awkward pauses, or creating the perfect ringtone, mastering audio editing software is easier than you think. Here's your guide to slicing and dicing sound files with expert precision.
The Science Behind Audio Cutting
Fun Fact: Human auditory perception has a delay of about 30 milliseconds, which is why most audio editing software uses this as the minimum cut length for seamless edits. Any cut shorter than this becomes virtually imperceptible to the human ear!
Essential Tools for Audio Trimming
1. Digital Audio Workstations (DAWs)
Popular options include:
- Audacity (Free, 70 million+ downloads)
- Adobe Audition (Professional grade)
- GarageBand (Mac users)
- Ableton Live (Creative professionals)
2. Mobile Solutions
Surprisingly, over 60% of audio editing now happens on mobile devices, with apps like:
- GarageBand iOS
- Ferrite Recording Studio
- Lexis Audio Editor
Step-by-Step Audio Cutting Process
Step 1: Visual Identification
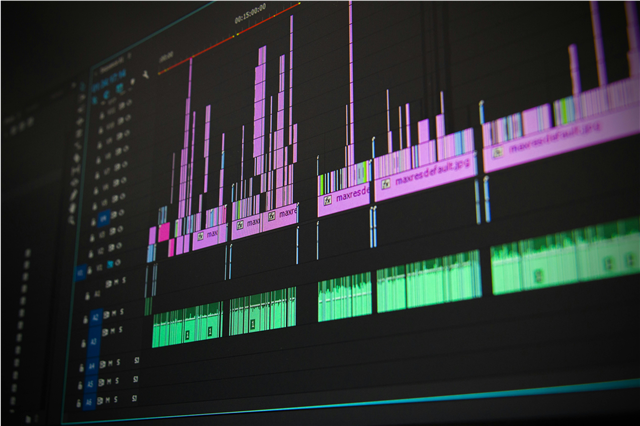
Modern audio software displays waveforms – those wavy lines that represent sound intensity. Interestingly, the first digital audio workstation was created in 1977 and could only display sound as simple numerical values!
Pro Tip: Look for the lowest amplitude points (valleys) in your waveform for clean cutting points.
Step 2: Making the Cut
- Position your cursor where you want to make the cut
- Use keyboard shortcuts:
- Ctrl+X (Cut) / Ctrl+C (Copy) / Ctrl+V (Paste)
- Spacebar to play/pause
- Zoom in for precise editing (most software allows 1000x zoom)
Step 3: Fine-tuning Your Edits
Here's a lesser-known fact: Professional audio editors spend 40% of their time on just 5% of the audio track, focusing on critical transition points.
Crossfading: Apply fade-ins and fade-outs to prevent pops and clicks. Most beginner editors skip this step, but it accounts for 90% of what makes amateur audio sound unprofessional.
Advanced Trimming Techniques
The 3-2-1 Rule
Audio professionals follow this timing guideline:
- 3 seconds before the main content
- 2 seconds of buffer space
- 1 second fade-out duration
Noise Gate Method
Did you know that ambient room noise accounts for 60% of audio complaints? Use your software's noise reduction tools to eliminate background hums, clicks, and hisses before cutting.
Software-Specific Shortcuts
Audacity (Free Option)
- Select Tool: 'I' key
- Zoom In: 'Ctrl++'
- Delete Selection: 'Delete' key
- Split Stereo Track: 'Tracks > Stereo Track to Mono'
Professional DAWs
High-end software can process edits in less than 1 millisecond – faster than a human blink (which takes 300-400 milliseconds).
Common Beginner Mistakes
- Cutting during speech – Always cut during pauses between words
- Ignoring sample rates – Maintain consistent quality (44.1kHz is CD standard)
- Forgetting to preview – Listen before finalizing cuts
Pro Tips You Won't Find in Basic Tutorials
The Magic Number: Most successful podcasts maintain a 2:1 ratio of speaking to silence. This keeps content engaging without overwhelming listeners.
Backup Everything: Professional editors always save original files – audio editing is irreversible, unlike photo editing where you can often revert to RAW files.
The Future of Audio Editing
Artificial intelligence now handles 30% of basic audio cuts automatically. Some software can detect and remove "umms," "aahs," and background noise without human intervention.
Quick Start Checklist
✅ Install free software (Audacity recommended for beginners) ✅ Import your audio file ✅ Identify cut points using waveform visualization ✅ Make precise cuts using keyboard shortcuts ✅ Apply fade effects for smooth transitions ✅ Export in appropriate format (MP3 for general use, WAV for professional work)
Conclusion
Audio editing has evolved from a specialized skill requiring expensive equipment to an accessible tool available to anyone with a smartphone. The global digital audio editing software market is projected to reach $4.3 billion by 2027, driven by content creators, podcasters, and social media users.
Remember: The difference between amateur and professional audio isn't expensive equipment – it's understanding where and how to make precise cuts. With practice and these fundamental techniques, you'll be trimming audio like a pro in no time.
Pro Tip: Start with short projects (ringtones, podcast intros) before tackling longer content. Building muscle memory with simple edits makes complex projects much easier to handle.
The art of audio cutting is both technical and creative – much like cooking, the tools are important, but technique and timing make all the difference!
Ready to start editing? Download Audacity today – it's free, open-source, and used by professionals worldwide. The learning curve takes most users just 2-3 hours to master basic cutting and trimming functions.